Kneading
Kneading dough is what helps the gluten develop strength, ultimately giving bread its structure and shape. There are a number of different kneading techniques, called upon for different kinds of bread.
For almost all the bread I bake, I use a techinique called “stretch and fold”, which isn't unlike kneading, but a little more delicate for our dough (and easier on our hands!).
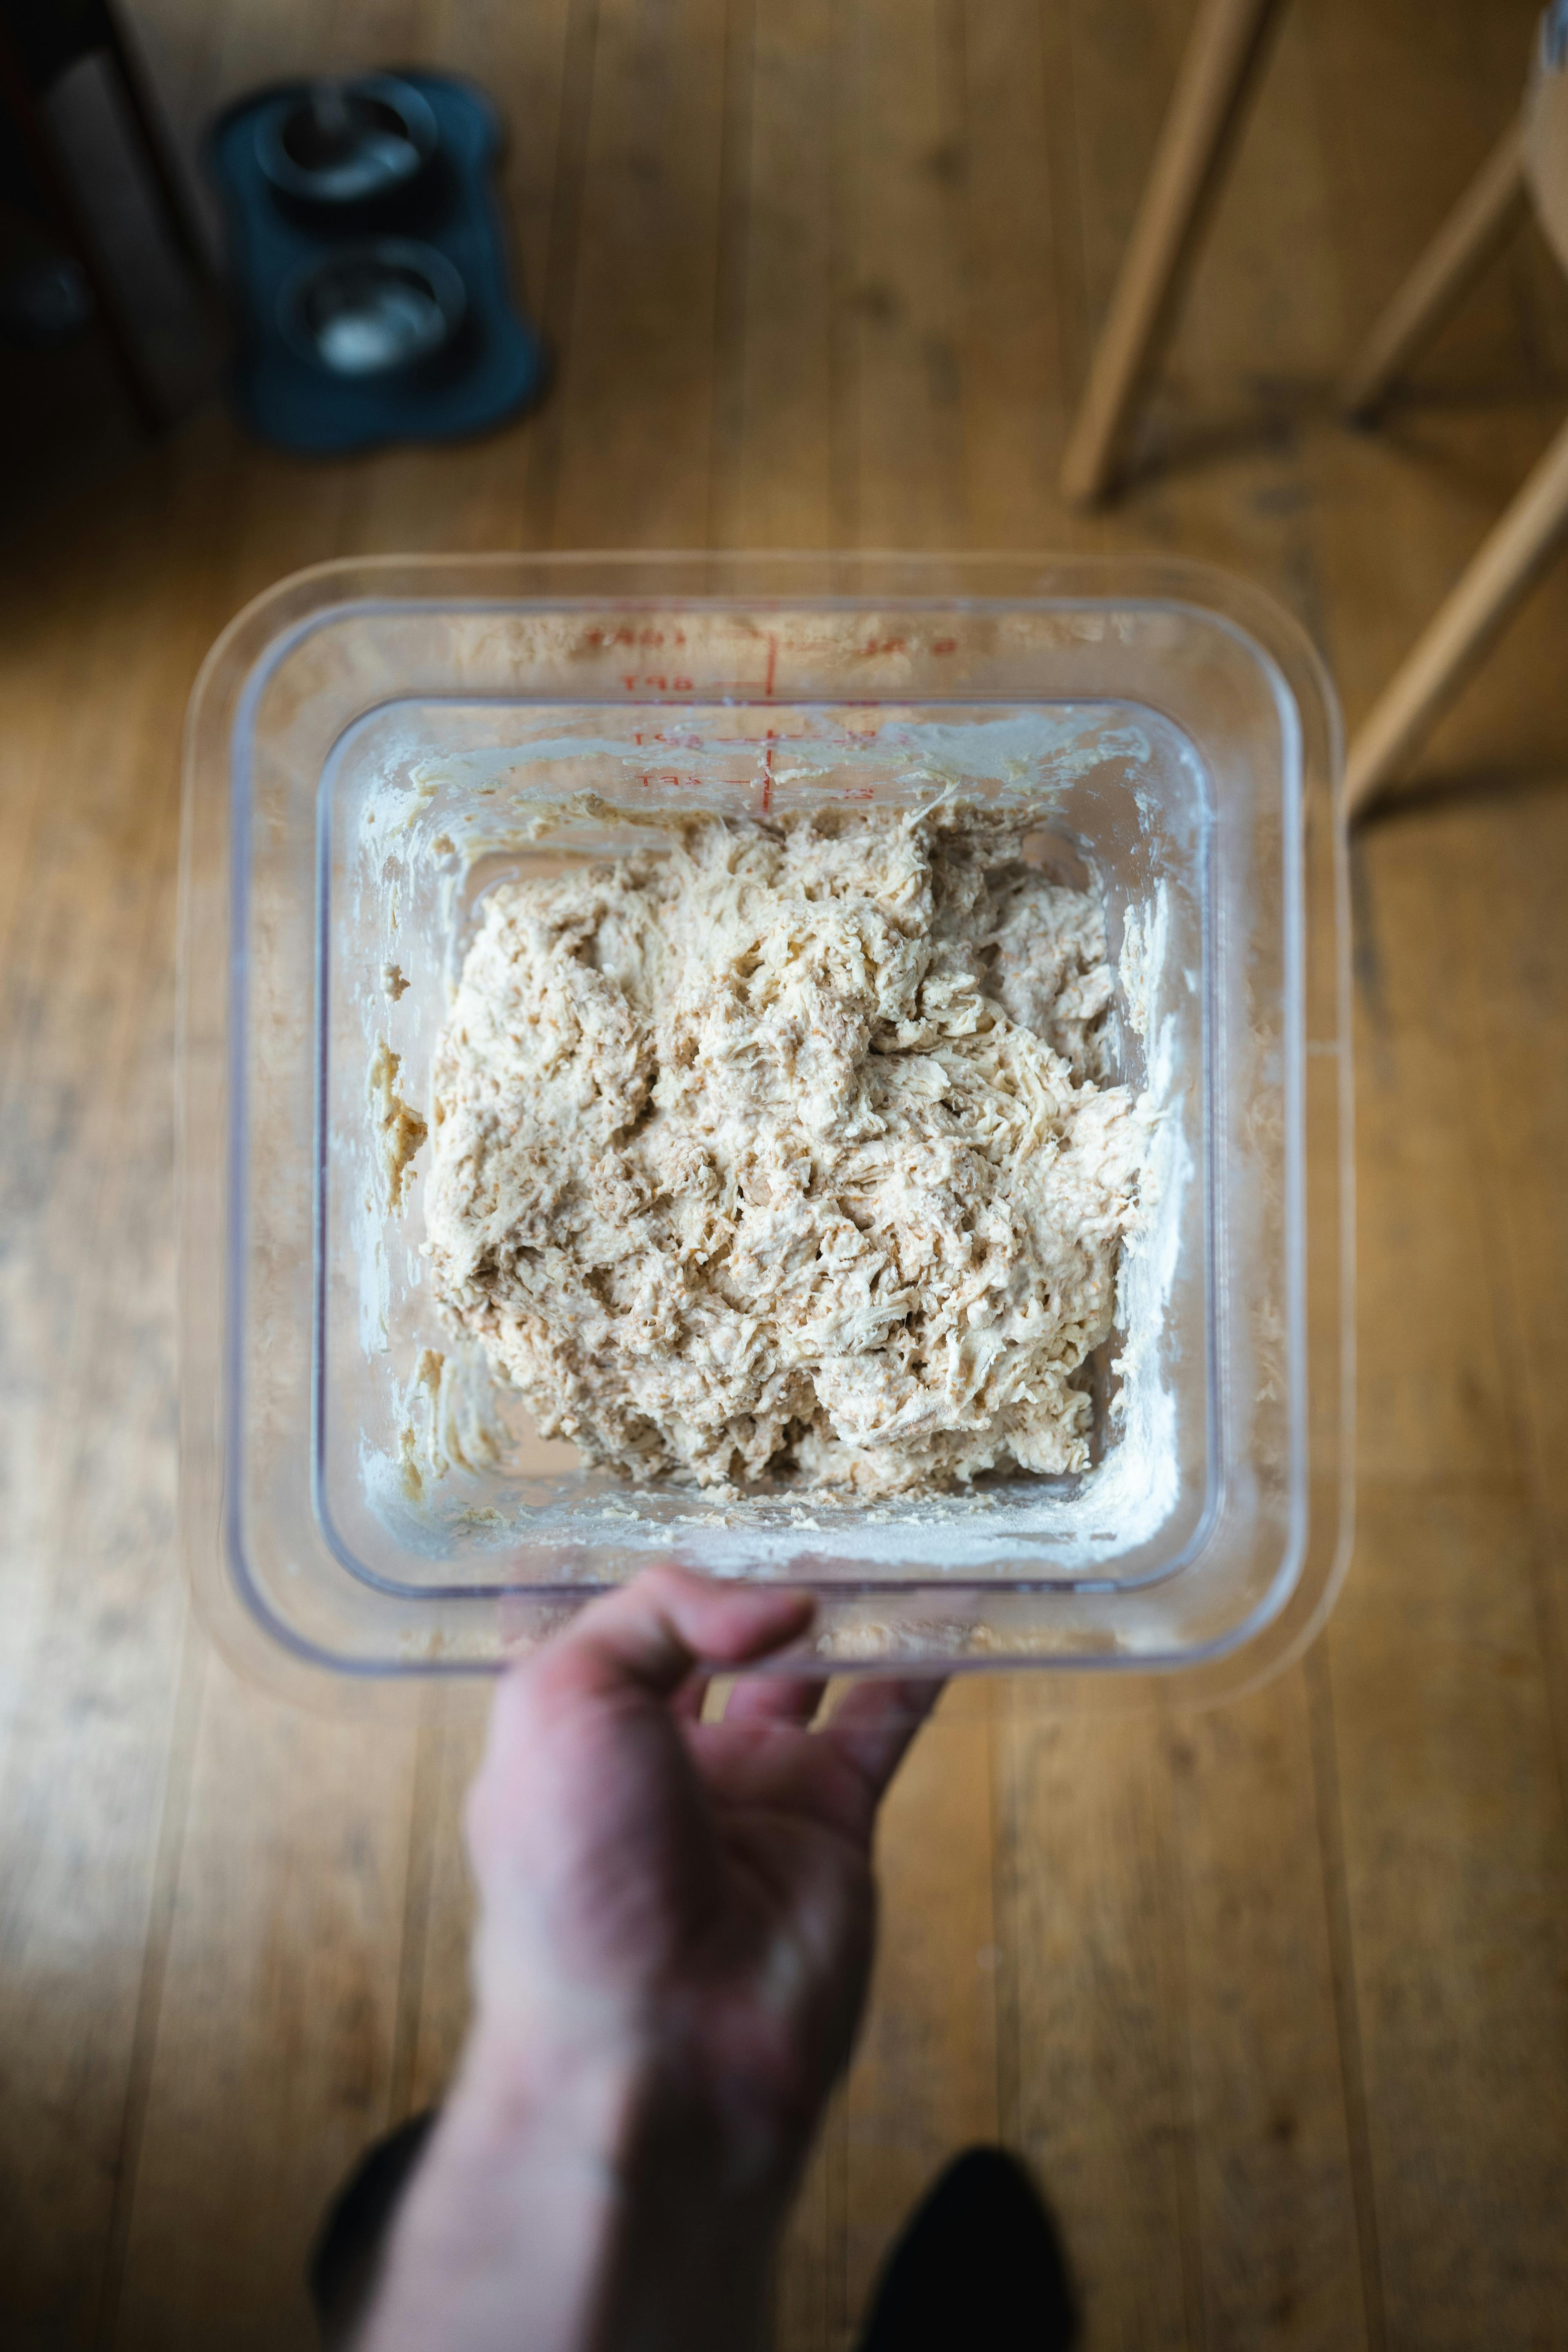
To knead dough using the stretch-and-fold technique, follow these steps:
- Using a wet hand, grab the edge and underneath of part of your dough. (Wetting your hand will help prevent it sticking to the dough; you may need to re-wet it a few times during this process. I usually keep a mixing jug of water nearby for this.)
- Pull the dough up and stretch it just to the point of resistance—you don’t want to tear it.
- Fold the stretched piece of dough back on top of the rest of the bread, about 1/2 to 2/3 of the way.
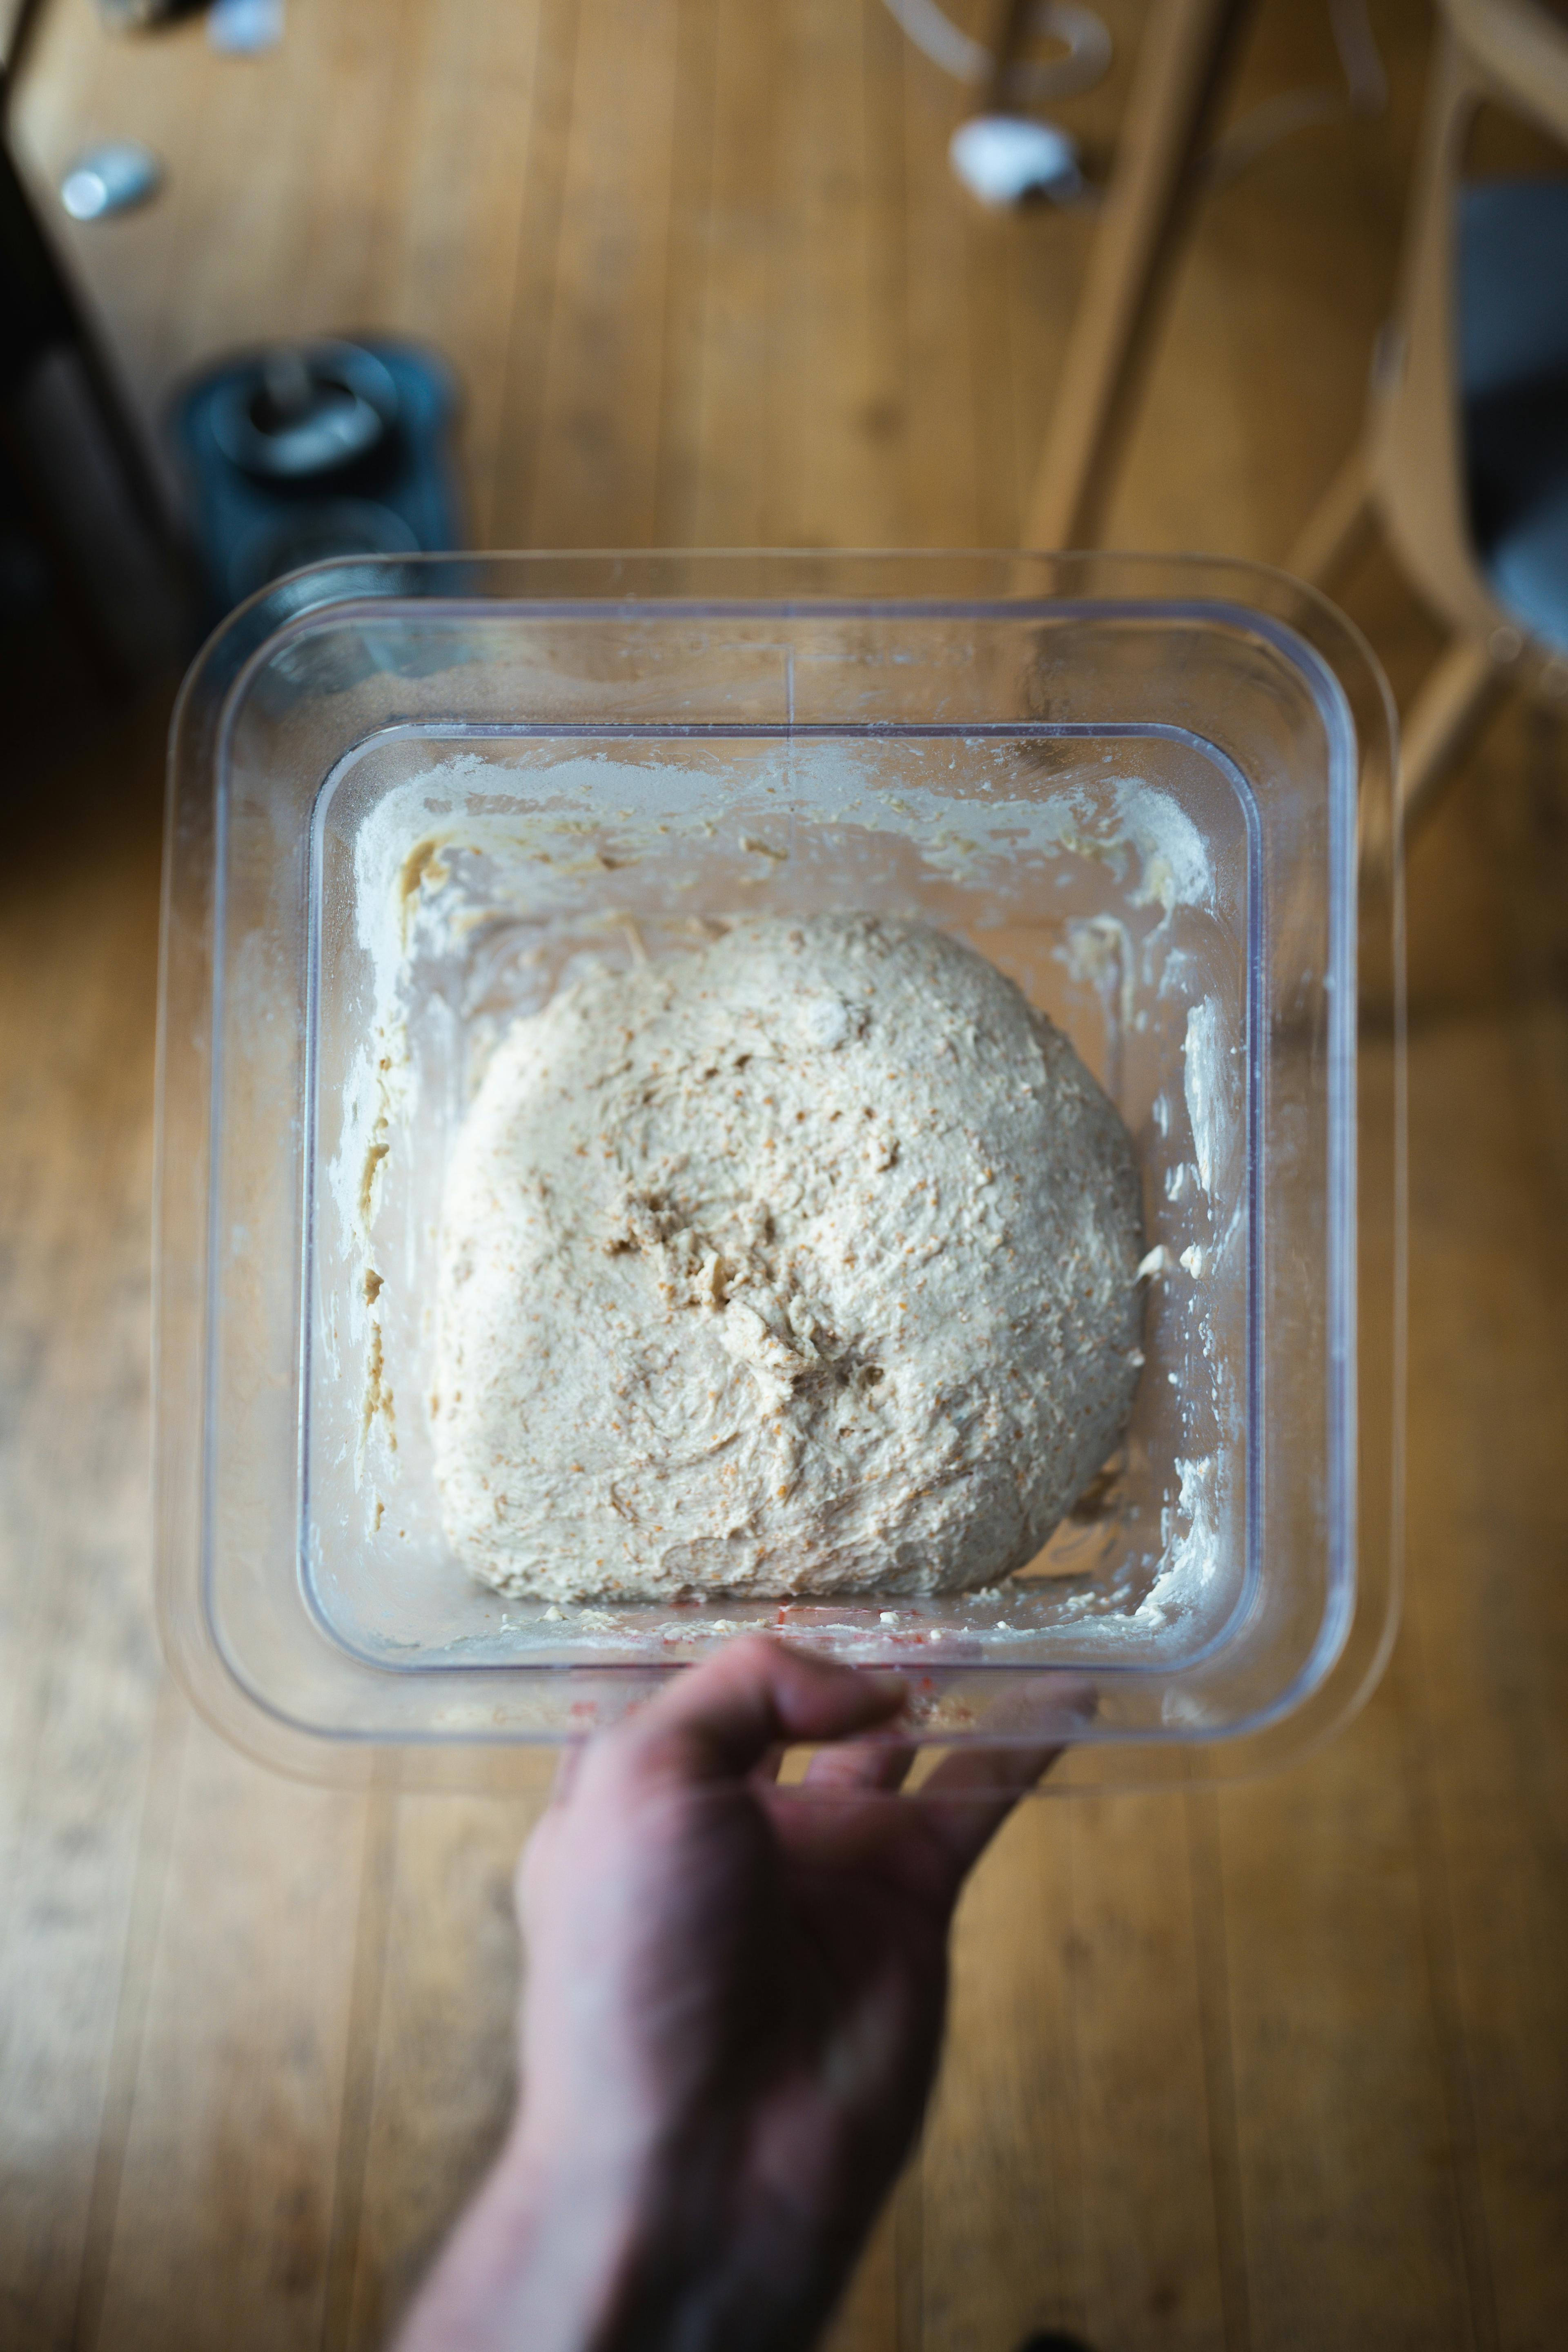
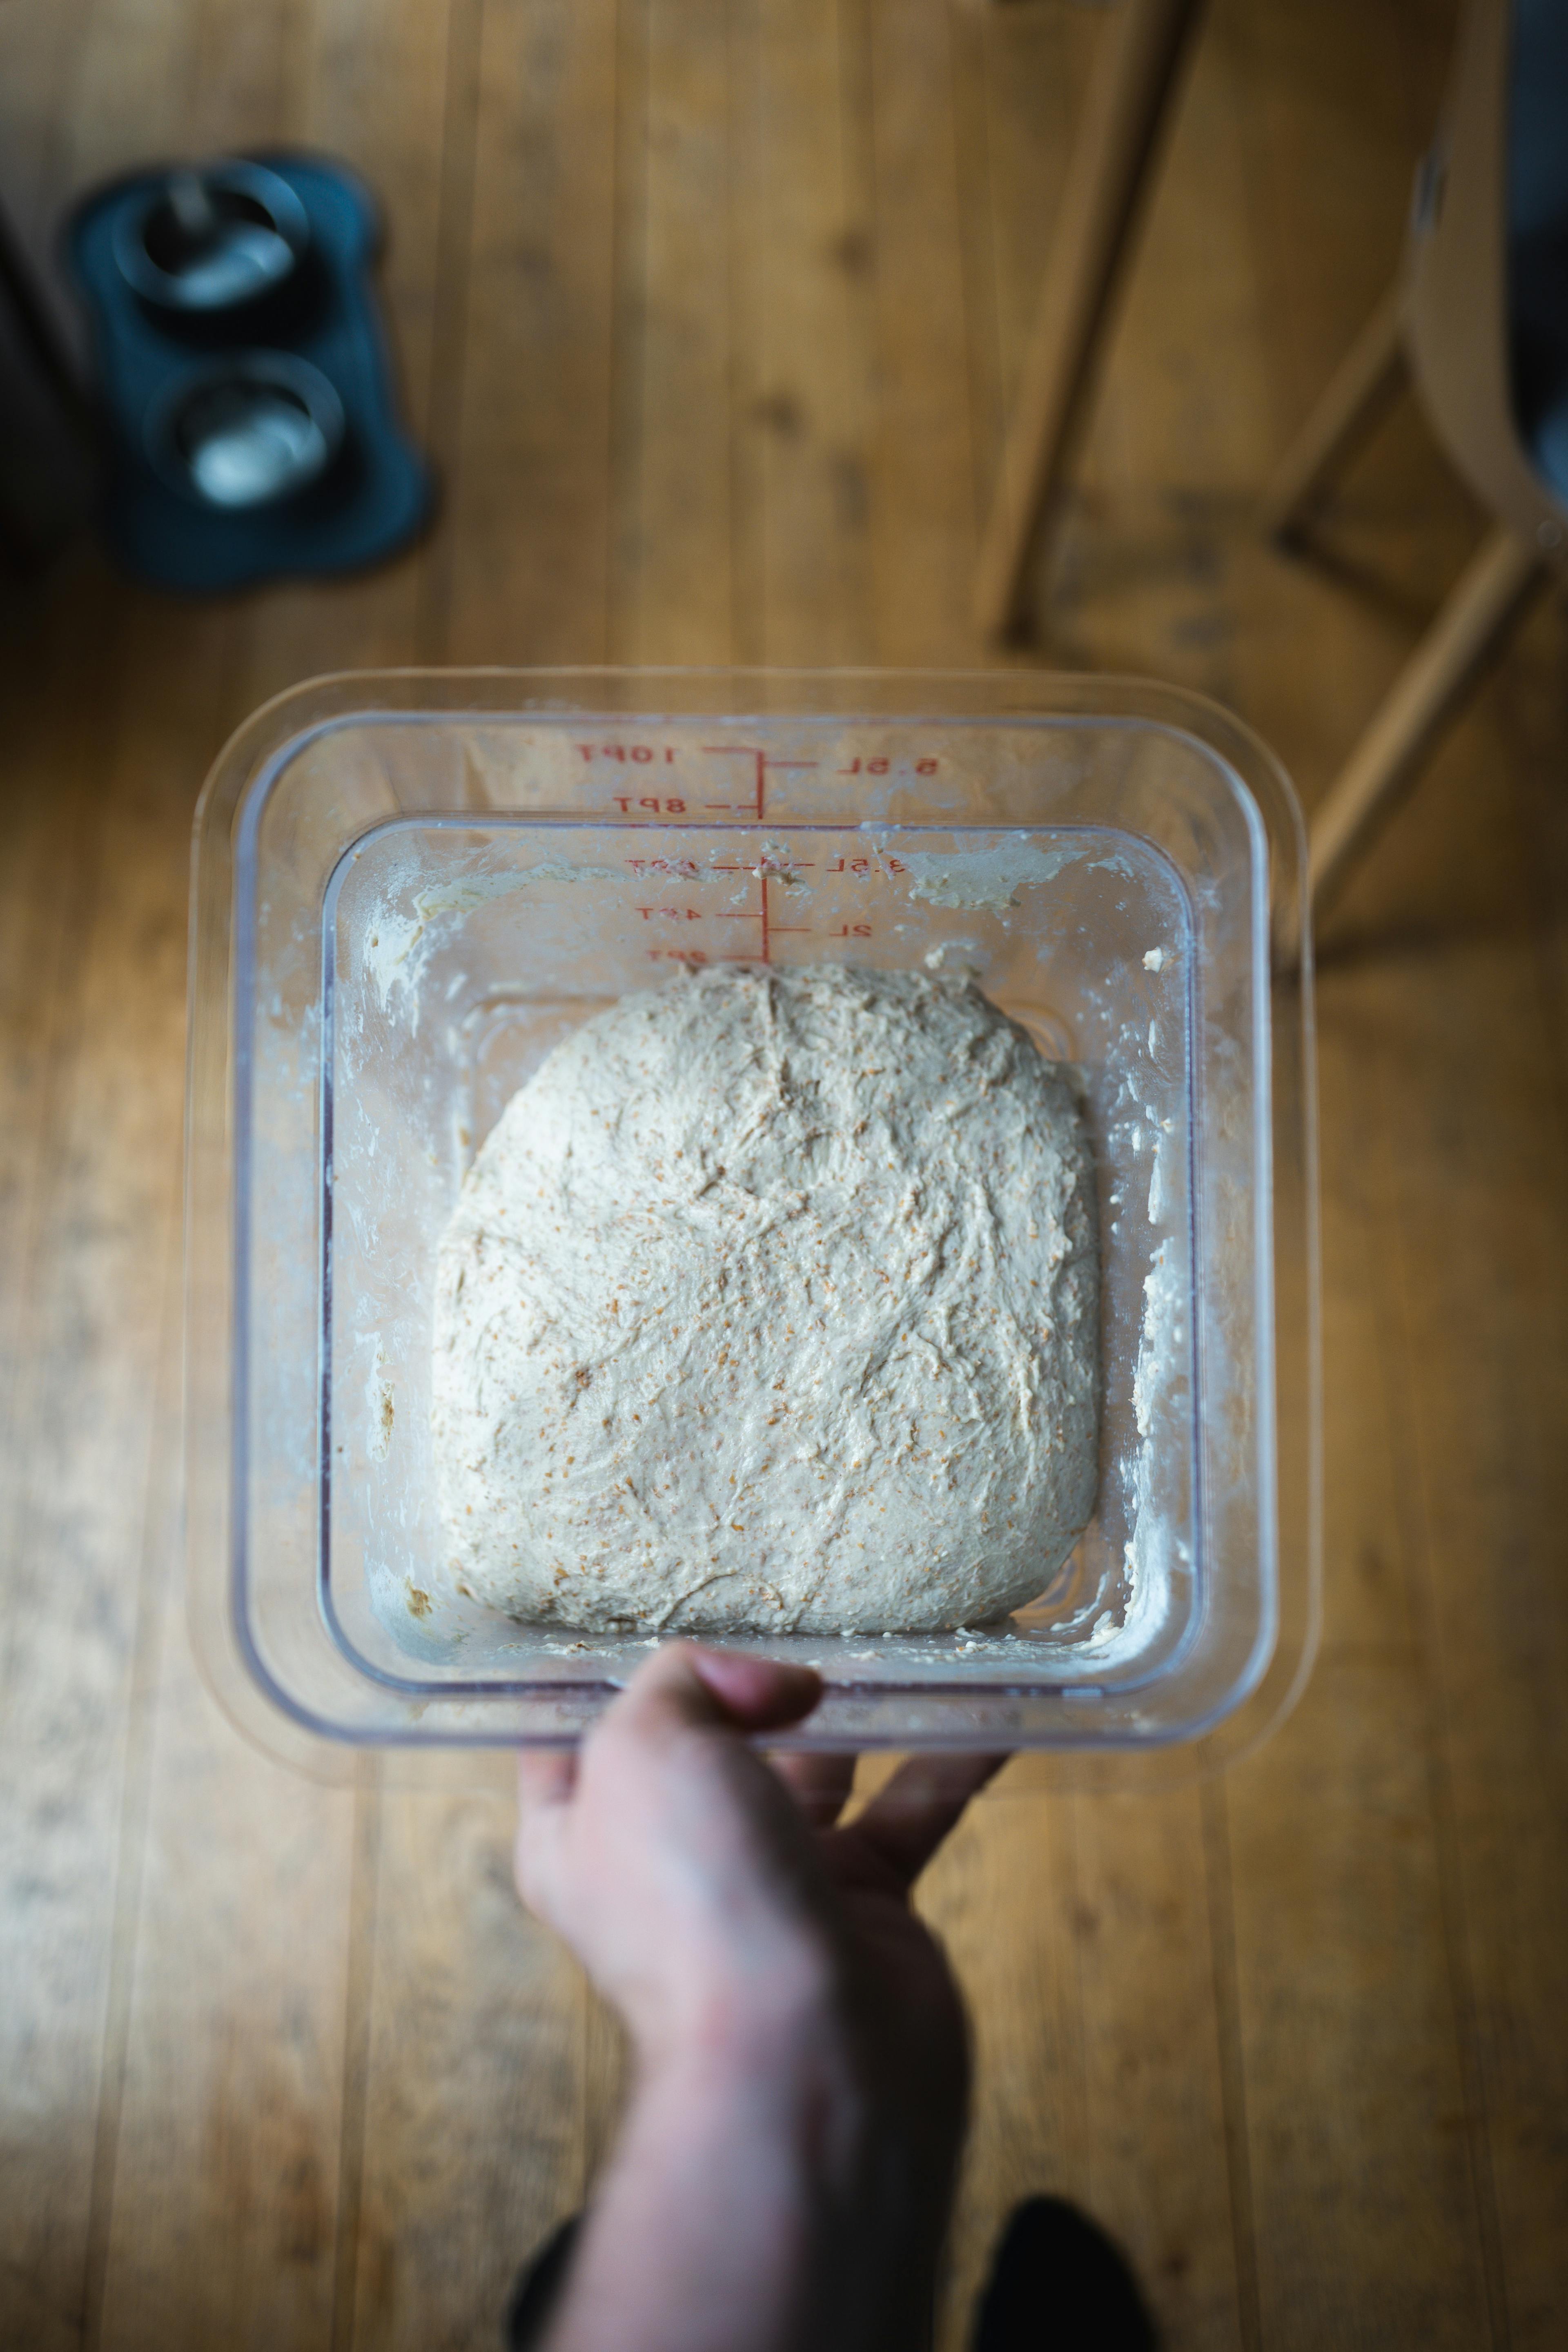
- Repeat this around the circumference of the dough, until it feels firm.
- On the last stretch-and-fold, grab the dough from its underside and flip it over so that the folds are facing down.
- Repeat this process 2–3 more times at 20–30 minute intervals, during the first 2 hours after mixing the dough.
Note that during our kneading, we're not pounding the bread with a rolling pin or with our fists, but rather just gently encouraging our gluten strands to strengthen through a repeated series of stretches.