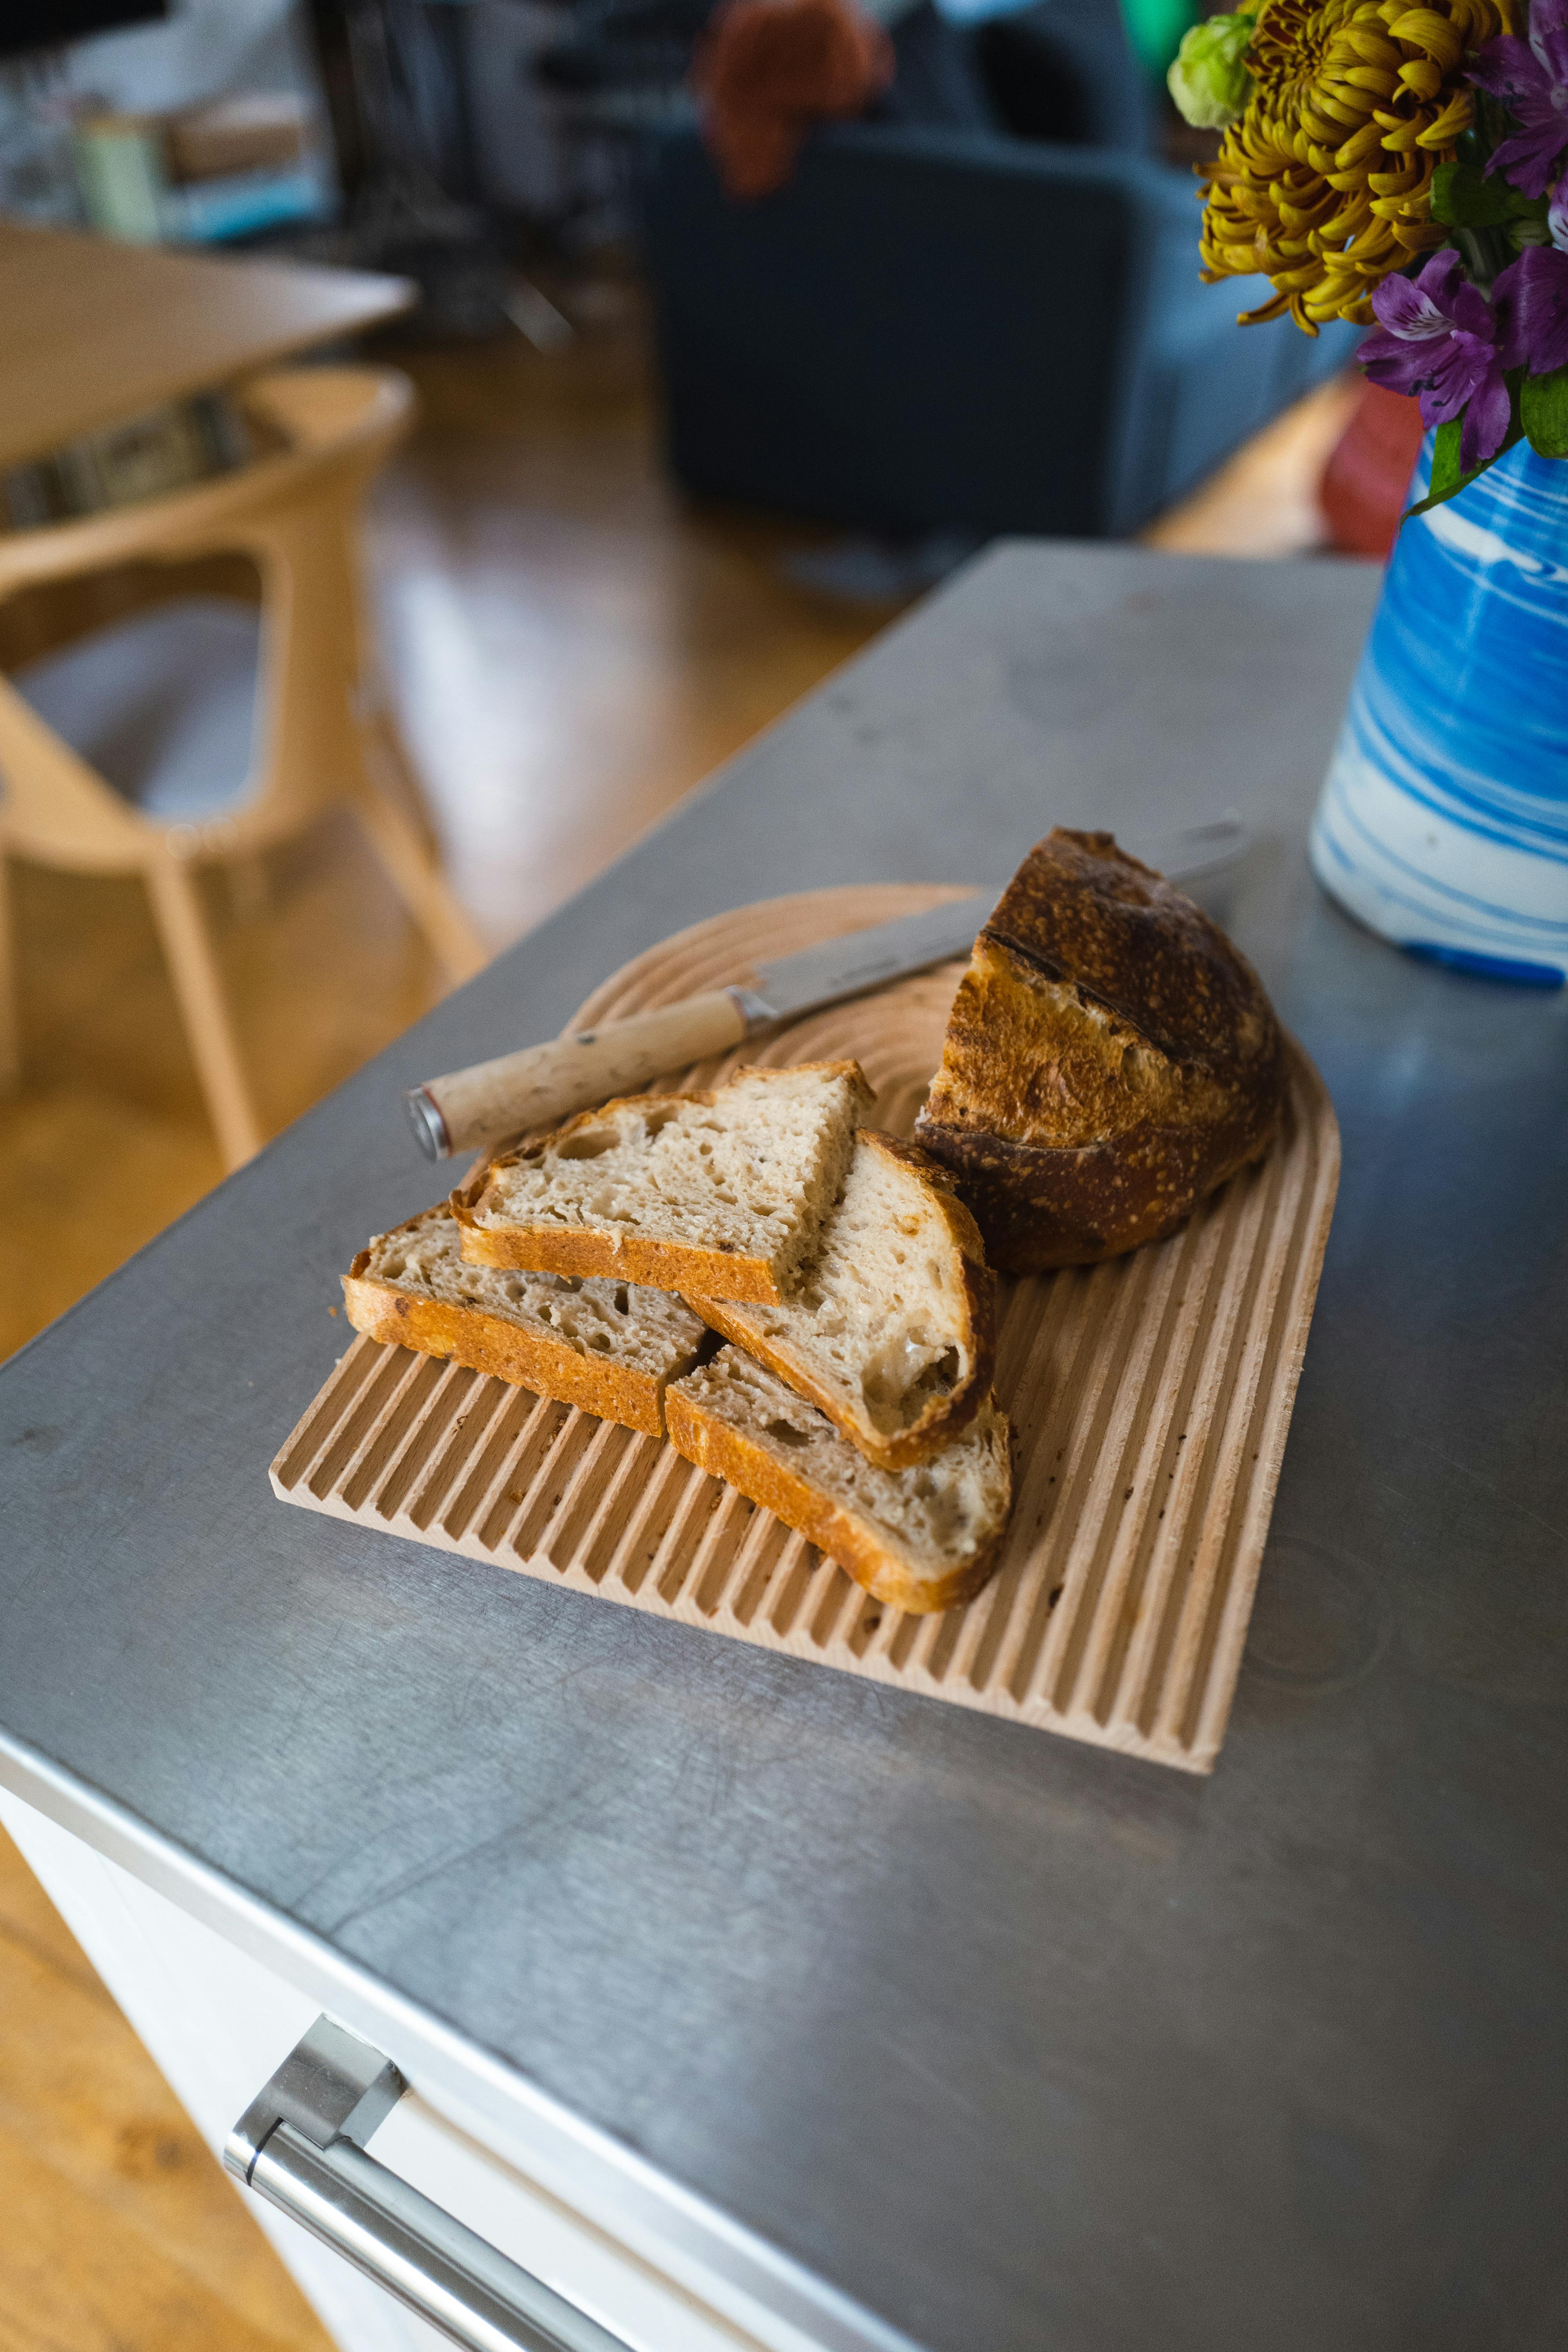
Malted Blonde Sourdough
This is a variation on the previous weekend sourdough recipe, but with some changes to make it higher in hydration. The result is a springier crumb—the inner texture of the loaf—and a thinner, crunchier crust.
The high protein and gluten content of the strong white bread flour works to counter the added hydration, making it easier to shape and build strength.
| 8a.m. Sat | Mix the preferment* |
| 4p.m. | Mix the dough |
| 4:30–6:30p.m. | Stretch-and-folds |
| 8:30p.m. | Shaping |
| 9p.m. Sat–8a.m. Sun | Proofing |
| 8a.m. Sunday | Baking |
Ingredients (for 2 loaf yield)
- 220g strong white bread flour
- 280g cool (72ºF/22ºC) water
- 30g mature sourdough starter
- 600g additional strong white bread flour
- 180g malted blend bread flour
- 500g warm (90ºF/32ºC) water
- 24g salt
| Total flour | 1000g |
| Total water | 780g |
| Hydration | 78.0% |
Method
Mixing the preferment. In a big bowl or tub, combine the 105/210/420g strong white bread flour (for 1, 2, or 4 loaf yield), cool water, and mature sourdough starter. Mix it up until all the ingredients are combined into what looks a bit like pancake batter.
Cover and let rest for 8–12 hours at room temperature. After this time, the preferment should develop a lightly sour smell and some bubbles.
Mixing the dough. After 8–12 hours, add to the preferment the remaining strong white bread flour, the malted blend flour, warm water, and salt. Mix it all up until thoroughly combined into a shaggy dough, then let rest for about 10 minutes.
Stretch-and-fold. After resting, give the dough its first series of stretch-and-folds. Repeat the stretch-and-fold technique a total of 4 times, including the first one, at 20–30 minute intervals.
After the stretch-and-folds are complete, leave the dough to rest in a warmish location† for another 2–4 hours, until it has increased in volume by 50–100%
Shaping. After the dough has increased in size, prepare a clean, clear working surface of about 2ft. Don’t flour the work surface: the tension of the sticky dough against the work surface will create a firmer loaf shape. With a lightly floured hand, gently tip the dough out of its tub and onto the countertop. You don't want the dough to drop and allow its gases to escape, so take your time and do this gently.
- If you’re preparing more than one loaf, dust the center of the dough with a line of flour, then use a bench scraper or dough knife to cut and divide the dough.
- Using a bench scraper to help you separate the dough from the work surface, grab the dough by the edge closest to you, pull and stretch it up, then fold it 2/3 of the way across the rest of the dough. Repeat on the right-hand edge, then the left-hand edge.
- Using a bench scraper, lift the last remaining edge and fold it over the rest of the dough like an envelope, allowing the whole dough to roll towards you, creating a firm surface.
Proofing. Dust a proofing basket or a towel-lined bowl with flour (preferably rice flour). Using the bench scraper for assistance, gently lift your shaped dough ball and place it seam-side-up into the basket.
Put the basket(s) into the fridge, where the dough will proof overnight. To help prevent the dough from drying out, put the baskets inside a plastic bag or place a plastic shower cap over them.
Baking. After the dough has proofed for approximately 10–12 hours, preheat an oven to 475ºF/250ºC/220ºC fan with your dutch oven (or other bread-baking pan) inside for 45 minutes.
- Once the oven is pre-heated, remove your loaf from the fridge, cut a piece of parchment paper about 2× the size of the dough’s footprint, and lay it on top of the dough. Carefully turn the basket upside down (with one hand holding the basket and another holding the dough) and gently lower the dough onto the countertop.
- Remove the basket and bask in the glory of your loaf, ready for its final journey to the oven. Score it along the top using a lame or a very sharp knife.
- Remove the baking pan from the oven. Carefully lift your dough from the countertop and lower it into the pre-heated baking pan, taking extra care not to burn yourself or drop the dough from a significant height.
- Cover the pan with its lid and place it into the oven. Bake the bread for 30 minutes covered.
- After 30 minutes covered, remove the lid and bake for an additional 20–30 minutes, until the loaf is dark brown.
- Remove the bread from the oven and let cool on a wire rack or on its side. Wait at least 20–30 minutes before cutting into the bread; it’s still cooking!